vibevite
Home
Home
VibeVite – Event Creation & Management Help Guide
1. Home Page Overview
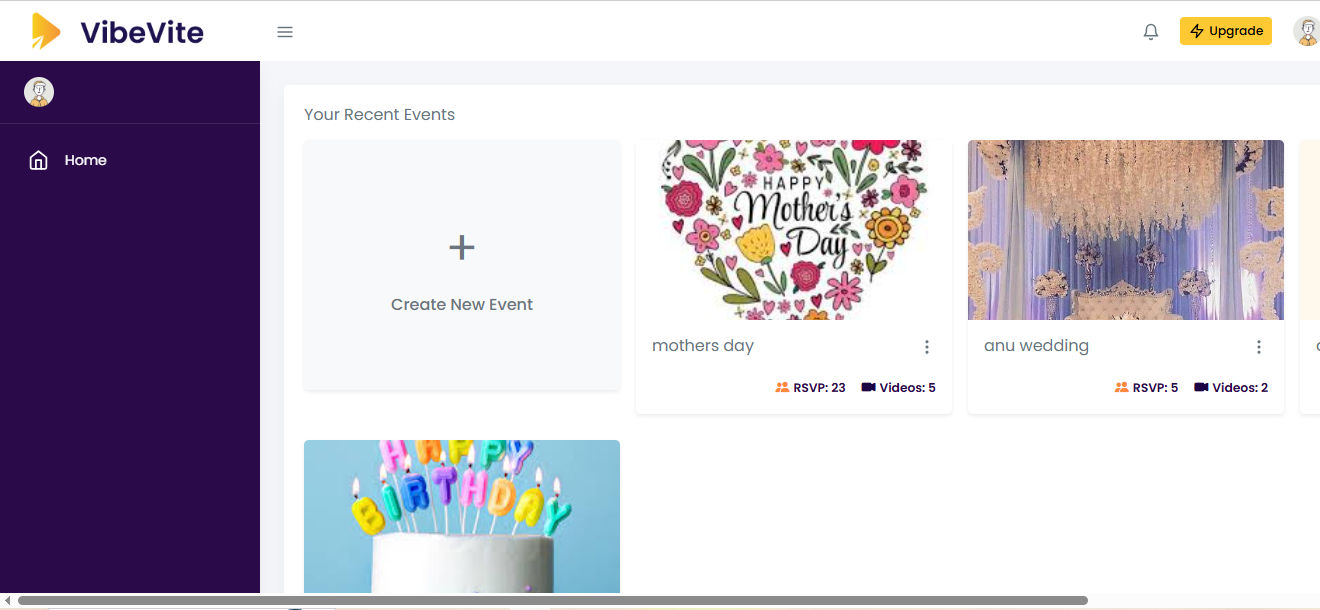
Recent Events
-
The Home page displays a list of your recently created events.
-
Click on any event card to open the Event Page.
Event Options (3-Dot Menu)
Each event card includes a 3-dot menu with the following options:
-
View
Opens the Recorded Event Page, where you can see:-
Invitee details
-
Share details
-
Submitted/recorded videos
-
-
Edit
Opens the Edit Event Form, allowing you to:-
Update event details
-
Modify invitees
-
Change dates, reminders, or event settings
-
Default Occasion Templates
-
The Home page also shows default occasion cards (Birthday, Farewell, Baby Shower, etc.).
-
Clicking any occasion card directly opens the Create Event page with the selected occasion pre-filled.
2. Create New Event
You can create a new event in two ways:
-
Click Create New Event and select an occasion
-
Click a default occasion card from the Home page
3. Event Creation Form
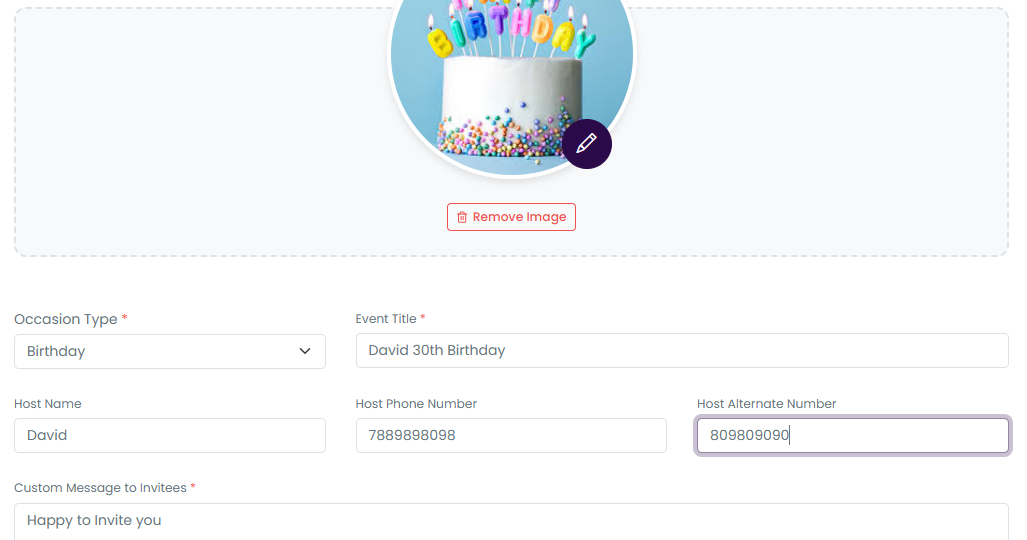
3.1 Upload Event Image
-
Upload a banner image for the event
-
Select a background color for the banner
3.2 Event Details
Fill in the following details:
-
Occasion Type (Birthday, Farewell, Baby Shower, etc.)
-
Event Title
-
Host Name
-
Host Phone Number
-
Alternative Phone Number (optional)
-
Custom Message (shown to invitees)
-
Video Response Duration (select from dropdown)
3.3 Event Mode
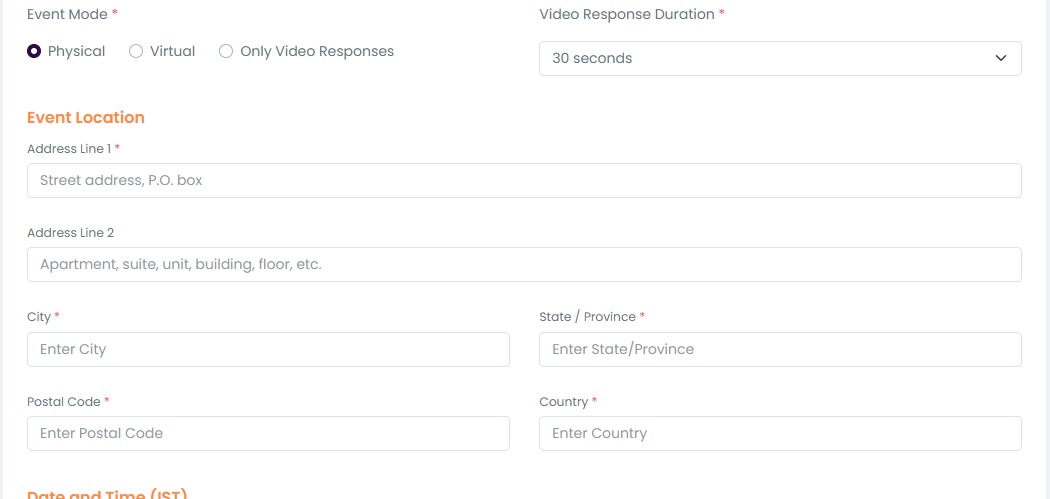
Select the event mode:
-
Virtual Event
No address details required -
Physical Event
-
When selected, the following address fields appear:
-
Venue / Address
-
City
-
State
-
Pincode
-
-
Only Video Respons
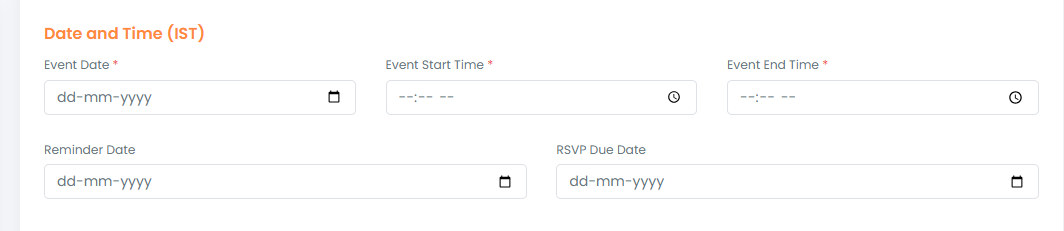
3.4 Date & Time
-
Event Date & Time
-
Video Submission Due Date & Time
3.5 Reminder Settings
-
Configure reminder notifications (if required)
-
Reminders are sent automatically to invitees before the due date
4. Add Invitees
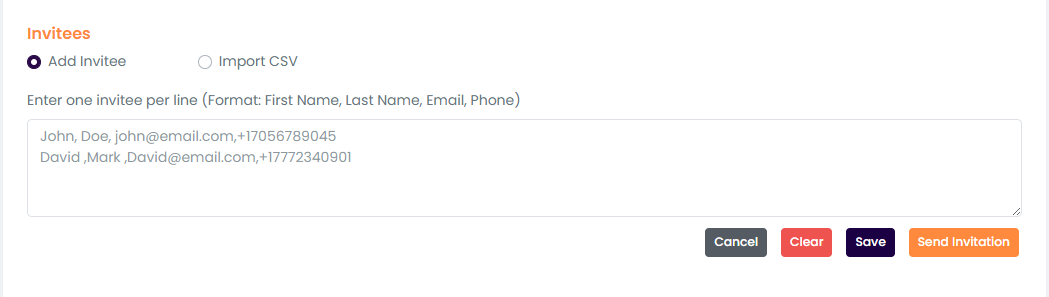
You can add invitees using either method below:
Option 1: Add Manually
Enter guest details one by one:
-
First Name
-
Last Name
-
Email Address
-
Phone Number
Option 2: Upload CSV File
-
Upload a CSV file containing bulk guest details
-
Supported fields:
-
First Name
-
Last Name
-
Email
-
Phone Number
-
5. Send Invites
-
Click Send Invite
-
The system will:
-
Save the event
-
Send email invitations to all invitees
-
Each email includes:
-
Event details
-
A unique invite link for video submission
6. Event Page
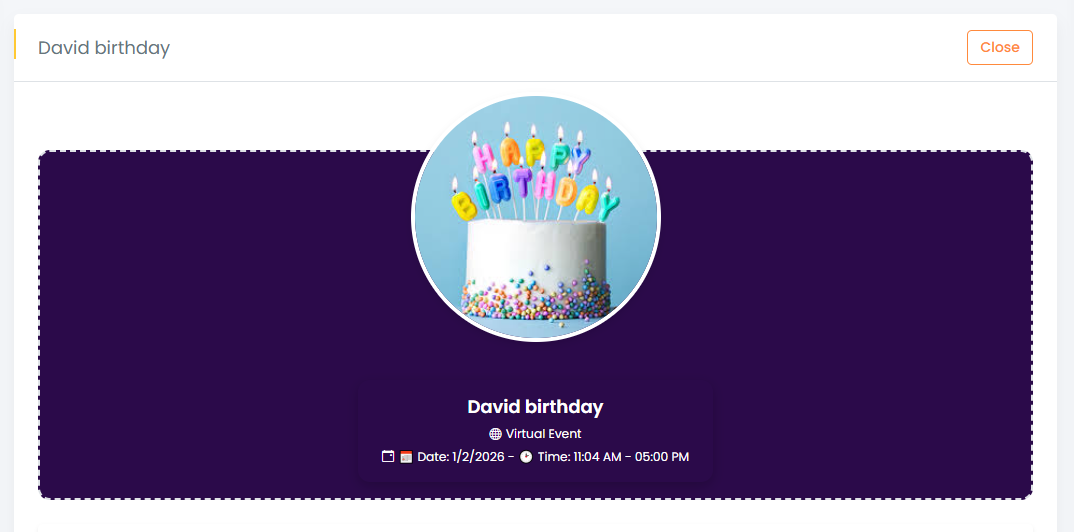
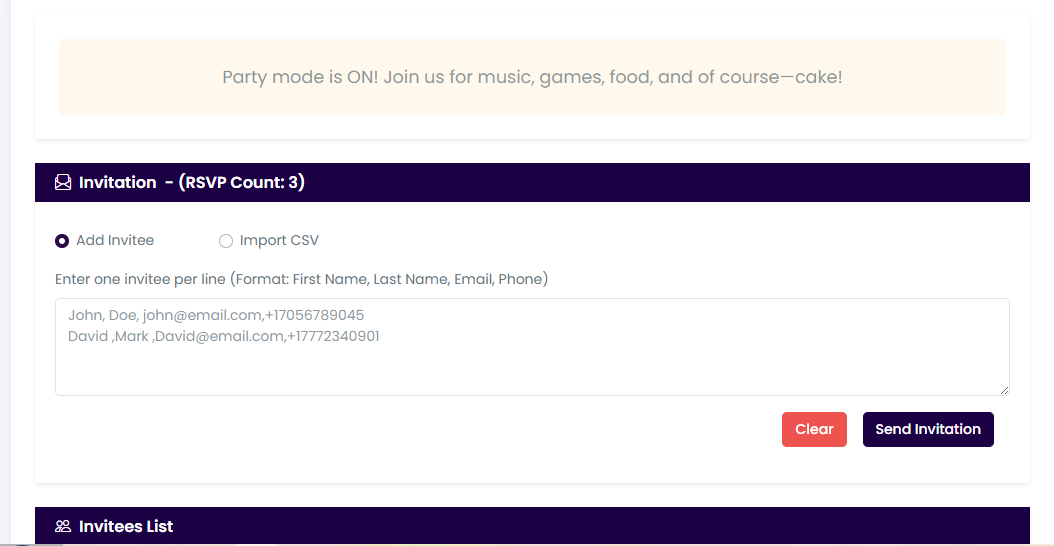
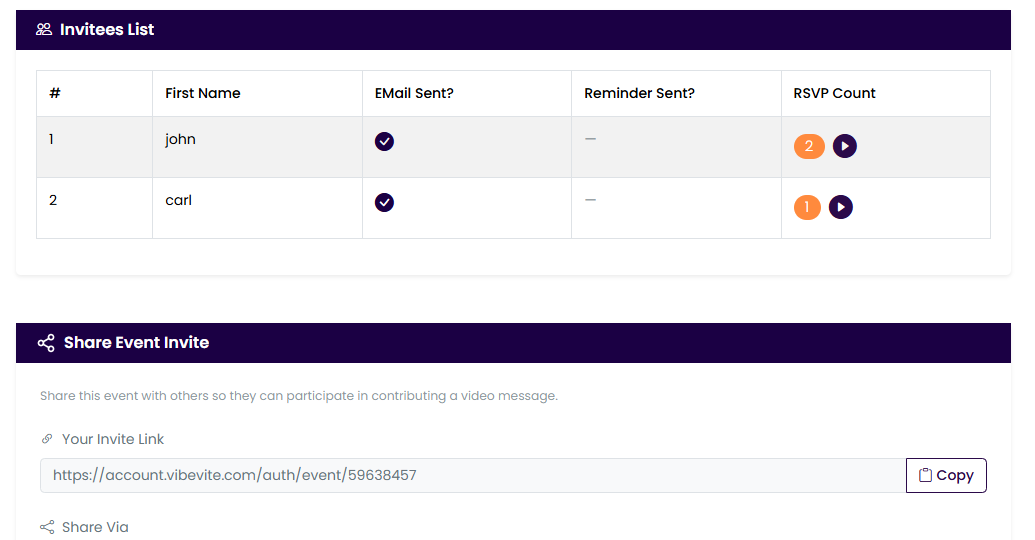
Once an event is created, clicking it opens the Event Page, where you can:
Guest Management
-
View the complete guest list
-
Track RSVP status
-
See who has uploaded videos
-
Resend invites to pending guests
Share Event Link
-
Share the event via:
-
Email
-
WhatsApp
-
Other messaging platforms
-
A predefined message is shown automatically while sharing.
7. Video Responses
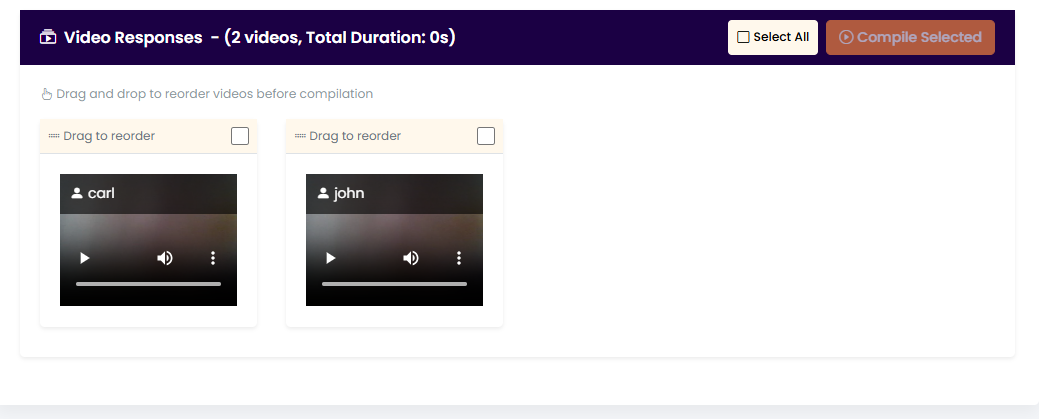
Viewing Submissions
-
All submitted videos appear under the event
-
Preview each video directly from the Event Page
Arrange Videos
-
Select the required videos
-
Rearrange video order using drag and drop
8. Video Compilation
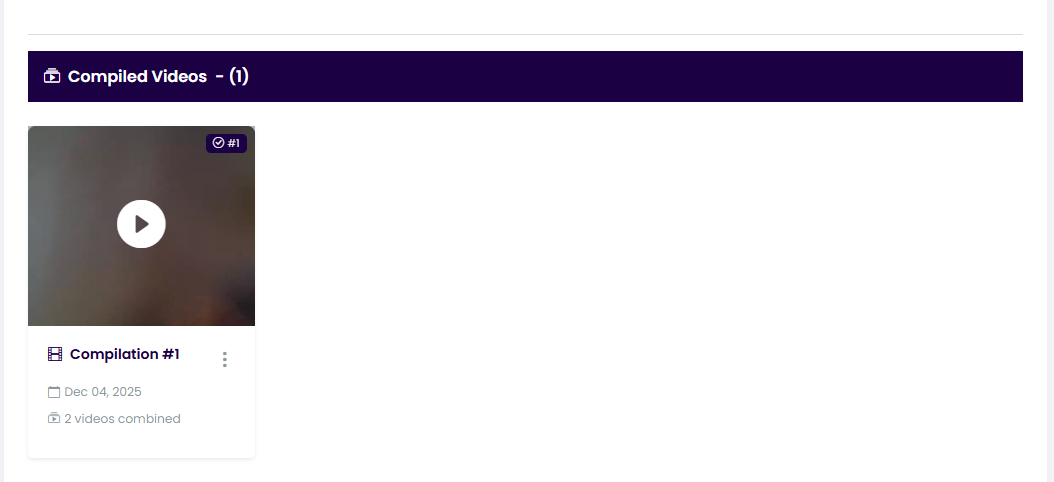
-
Click Compile
-
The system stitches all selected videos into one complete video collage
-
The final compiled video is saved under the event
9. Share Message Template
When sharing the invite link, the following predefined message is shown:
Share Message:
Hi [First Name],
You've been invited to contribute a video message for [Recipient Name]'s [Occasion Type]!
📅 Event Date: [Event Date]
🎥 Submit your video before: [Due Date]
🔗 Your Invite Link: [Unique Link]
Just click the link, RSVP, and upload your message. It's quick and easy!
Thanks for being part of this surprise!
10. Summary
With VibeVite, you can:
-
Create personalized video events
-
Invite guests easily
-
Track RSVPs and video submissions
-
Compile videos into a beautiful memory collage
-
Share the final video with friends and family
For any additional help, visit the Help Center or contact VibeVite Support.
-----------------------